Showing posts with label Dare to DIY. Show all posts

Sunday, December 04, 2011

-- Dare to... Give Homemade Gifts --

Its that time again - Dare to DIY party time with Kim at the NewlyWoodwards!  This week its all about the homemade gifts and if you know Lucas and I we do lots of homemade gifts every year for Christmas.

The thing is... most of the people that we are giving gifts to this year also read the blog and I really don't want to give it away.  But here's a glimpse at what we gave our family last year...

Both sets of Moms and Dads received a desk clock and matching pen/pencil holder (not pictured).


We made this photo key holder for Lucas' grandparents who had sold their home and moved into a smaller condo during the year.


My little sister wanted a walnut end-grain cutting board and this one had an especially beautiful grain pattern.


And the big one for last Christmas was a hall table for Lucas' sister.  It was a combination of a bubinga top and a black stained ash bottom.


For this year I do have one special set of gifts that I can share and that's because they are for the pets of the family - chances are they aren't reading the blog :)

I made them little winter coats with a beautiful snowflake fleece.  Here's Izzy modelling the coat that she will be tearing open and my parent's dog Levi will have a matching one.


They have the nice fleece beside their fur and a coordinating grey on the outside.


And just so that the other pets in the family don't left out - I made a much bigger version out of just fleece for the family golden retriever...


And a tiny, miniature version with matching blanket for my niece's pet hamster "Runner". I was actually talking to her on the phone when I told her I was making something for Runner and she actually guessed that it was a shirt... 5 year olds aren't supposed to be so good at guessing :)


Check out some of the other neat gift ideas at the Newlywoodwards!

Dare to DIY

 And many other DIY projects here:

The DIY Show Off


Monday, November 28, 2011

-- Dare to... Eat Cookies --

It feels like I keep making little adjustments to the Dare to DIY Challenge and this week - Dare to Eat Cookies isn't any exception.  Fortunately, Kim is a pretty nice person and I think she will still accept my contribution :)

At our house we are making a concerted effort to cut way back on the snacks - which definitely includes cookies.  However, Christmas isn't Christmas without Lemon Bread so we made the choice to forego cookies and indulge in our Lemon Bread instead.


With a sweet, tangy and crunchy glaze on top this bread is just perfect.  Here's the recipe which has been passed down through both of our families for a few generations...

Glazed Lemon Bread
 - 1/2 cup shortening
 - 1 cup sugar
 - 2 eggs
 - 1/2 cup milk
 - 1 1/2 cup flour
 - 1 tsp baking powder
 - grated rind of 1 lemon


Mix and place in a greased loaf pan.  Bake at 350 degree for 45 to 60 minutes depending on your pan.


When cooked remove from oven and drizzle immediately (while in hot pan) with the following mixture:
 - juice of 1 lemon
 - 1/4 cup sugar

** I made this batch with multigrain flour and Lucas reported that it tasted "funny"  I'd agree and say it was definitely heavier than usual but it still had a great flavor.

If you want to check out a similar Christmas treats... check out what I posted earlier this fall: Homemade Peppermint Patties or one of the Dare to... Eat Cookies challenges from last year: here and here.


Dare to DIY

Sunday, November 13, 2011

-- Dare to... Be Thankful: Sunday Soup Night --

Such a great weekend!  Two days of sleeping in makes me really happy :)  It also doesn't hurt that while I was cleaning the house on Saturday Lucas surprised me with dinner reservations at one of our favorite Italian places, Del Dente.  Lucas had the special, fusilli with peppers, peas and pearl onions in a parmesan cream sauce, and I had fettucine with pepper and red onion in a bolognese sauce - YUM!  We finished the night off watching a movie on the couch.

Sunday I headed out to HomeSense and for groceries.  I was lucky and found a couple small cabinets that I'm going to use for a project in our bedroom that I'll share later on.  

For today though I'm super excited to participate in the Dare to DIY party that Kim is throwing again this year.
Dare to DIY
This week is Dare to... Be Thankful.  And while we celebrated Canadian Thanksgiving last month, I still wanted to participate in the party :)  So for this week's Sunday Soup Night I made a soup with tons of fall flair!  Earlier this fall we've tried Natalie's Ribolitta, and Butternut Squash, Ginger and Orange soup and Natalie's Lemon Orzo Chicken soup.  Tonight's was a recipe I found on Pinterest - Spicy Sweet Potato Soup.  Lucas says it was the perfect blend of creamy, pureed goodness... 


This one was ever so slightly complicated  - but I think it was worth it.  So yummy!


I also made a small batch of blitz bread to serve on the side.  I don't think I let it rise quite long enough but it was a nice side dish.

We don't have a soup recipe for next week - any suggestions??

Oh and if you haven't already, be sure to pop by the NewlyWoodwards and  check out some of the great Thanksgiving DIY projects!

** Check out what I did last year (2010)

Monday, December 20, 2010

-- Dare to... Have Traditions --


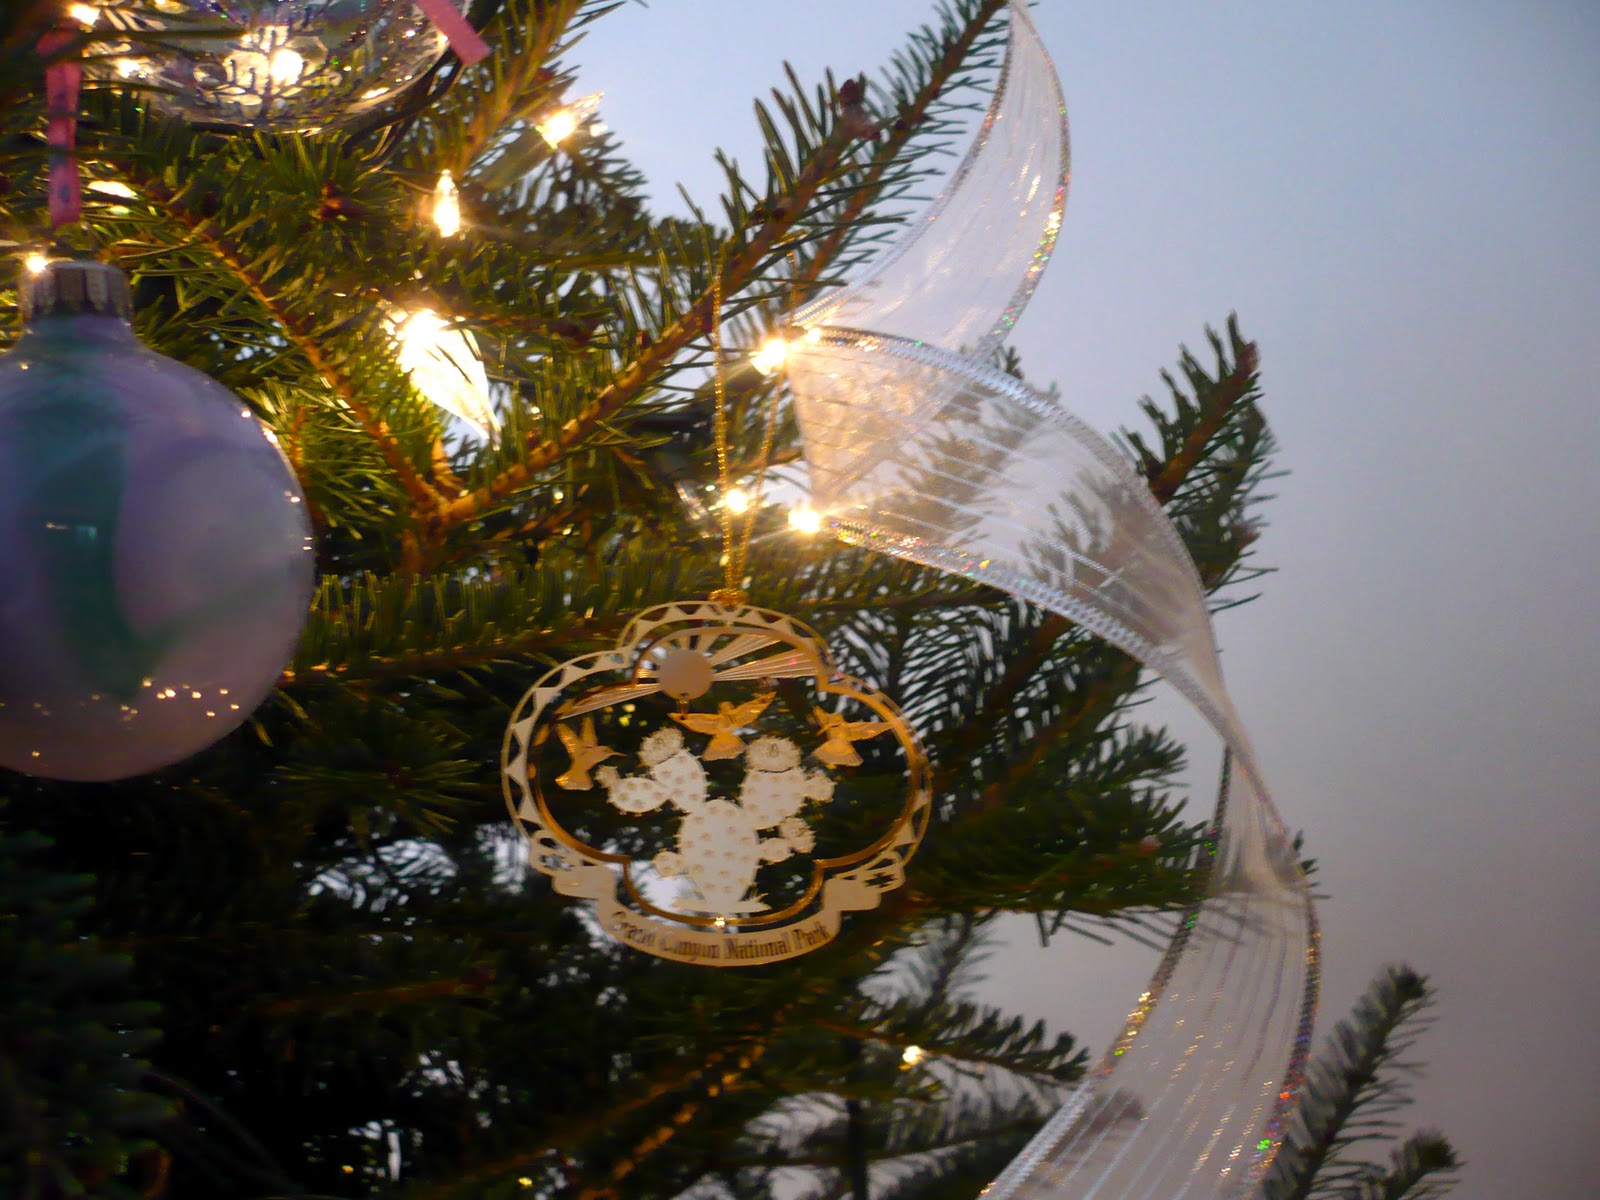
This is the final week of the Dare to DIY Party that Kim is hosting over at the NewlyWoodwards.  This week is titled - Dare to Have Traditions and if there is something my family does at Christmas, its traditions!  From Chinese food and Game Night on Christmas Eve (after attending a candlelit service) and shopping for our real tree (both of which I talked about last year) we are sticklers for our traditions which have only multiplied since our family traditions merged.  The tradition that I want to share here though is that on every trip we take, we pick up a Christmas ornament or two and enjoy decorating the tree while remembering our vacation - here are some of the ornaments we've acquired over the last few years!


Winter 2008 - Oahu, Big Island and Kauai, Hawaii


Spring 2008 - Tucson, Grand Canyon and Sedona, Arizona


Summer 2008 - Bar Harbor, Maine


Winter 2009 - San Francisco, California


Winter 2010 - Acapulco, Mexico


 Summer 2010 - Cape Breton, Nova Scotia


Oh - and by the way - we still haven't settled on a game for Christmas eve this year so recommendations would be very welcome.  We are thinking of options like Taboo, Rook... What's your favorite game?  

Monday, December 06, 2010

-- Dare to... Give Homemade Gifts... to Your Reader(s) --

I can't believe that we are already on Week 4 of Kim's Dare to Do It Yourself Challenge!


I think the point of this week is to share the homemade items that we are giving to friends and family this year.  But, too many of my family members actually might read this post and because of that, I'm can't give away the surprise.  Instead, I'm sharing some of the gifts we gave last year... AND a special little item that I am hoping to giveaway to a lucky someone who reads this blog - stay tuned til the end of the post for that one :)

For my mom last year, we made a knife block.  Inspired by one we say at Lee Valley, Lucas made this out of left over pieces of walnut and bamboo skewers from the Dollar Store.  While he went a little wacky with the corner joints, I think it would look equally nice with a simple box construction.

Also, 1 000 000 points to the person who can guess how many bamboo skewers it took to fill this baby up :)


Last year we also gave a couple end-grain cutting boards.  These seem to be a favorite for family and friends. We also give them as wedding gifts a lot :)


We gave my grandparents a little tray last year.  It was super quick and easy to make and for the handles we picked up a couple simple cabinet door handles from Home Depot and attached them to each end.

We made the tray long and skinny - just the right size for 4 mugs and my grandmother says that she uses it almost every night.


Ok, now this gift from last year was NOT simple and featured no involvement from me.  But, I think its beautiful so I wanted to share.  This is a coffee table for Lucas' sister and is stained pine with a walnut accent band.


And for the grand finale - A gift for one of you lucky readers!

I've got a set of 4 Zebrawood coasters up for grabs (similar to the sets below, but the wood has a stripe-y pattern - like a zebra).
For a chance to win just leave a comment on this post and tell me your favorite Christmas song (my playlist could use a refresh).  For a second chance to win, visit the Clark Wood Creations website, take a look through the portfolio and leave a second comment here telling me what item(s) you like best :)


I'll draw for the winner on Saturday morning and contact him/her by email to get the details on where I can send the package!!


Tuesday, November 30, 2010

-- Dare to... Eat Cookies --

Though I missed last week, and am definitely a day behind for this week, I am still thinking about and trying to participate in Kim's Dare to Do It Yourself Challenge.


Dare to DIY

This week's challenge was (and lets just say, its one of my favorite :):


"As we begin to attend holiday parties, share your favorite cookie recipe for all to enjoy. It’s like a digital cookie swap. Share the recipe and a review of the cookie. If you can, add a picture. And don't worry about the extra calories. At Christmas, cookies are calorie-free."

For me, I feel you can't ever go wrong with a chocolate chip cookie and around our house, they are a favorite.  But, I do like them hot from the oven.  So, what I do is make a double batch, form all of the cookies and stick them in the freezer between strips of wax paper.  That way, when the mood for a cookie strikes, I can pull out as many as we are planning to eat that evening and stick them in the oven.  

_________________________

We use a very simple chocolate chip recipe:

Blend: 1/2 cup shortening
            1/2 cup white sugar
            1/2 cup brown sugar

Add:    1 egg
            1 teas. vanilla

Incorporate:  1 1/4 cup flour (sometimes a little more, sometimes a little less)
                      1/2 teas. baking soda
                      1/2 teas. salt

Mix well and then incorporate 1/2 bag of dark chocolate, chocolate chips.

Bake at 325 for 14 minutes

__________________________

I've got to admit though, my luck with cookies has not always been the greatest.  Usually they would burn on the bottom by the time I got them fully cooked in the middle.  But, that all stopped when I found these little babies:


These look just like a silpat liner, but they seem to do a different kind of job.  The cookies bake perfectly even and they are soft and chewy in the middle.  Its like magic!  Last year I bought one for every female in my family because I love them so much and now they also rave about them.  I got mine at Canadian Tire for less than $10.  Best cookie-related invention ever!


Next week's Dare is to give homemade gifts.  I have considered doing a little bit of a giveaway at the same time as next week's Dare post, but I'm not sure that there are that many people actually reading.  If I could guarantee that at least 10 people would be part of the giveaway, I could easily find myself giving a homemade, Clark Wood Creations gift to one lucky blog-friend :) Who wants to see a little CWC giveaway?

Monday, November 15, 2010

-- Dare to... Be Thankful --

The Dare to Do It Yourself Challenge is back this year (Thanks Kim from The NewlyWoodwards!) and there are so many more participants this year compared to last.

This week's challenge was:

"Take some time making your own DIY Thanksgiving project. It could be a fun Thanksgiving advent calendar, homemade thank-you cards, a banner or something completely unique."

Since Thanksgiving is long over in my neck of the woods I'm adopting this as more of a Fall-ish challenge and so I'm going to share my Fall wreath for this week.  All the materials are from Michael's and the whole project was maybe $10... just a grapevine wreath and a few different springs of leaves and other fall-like faux foliage.  This was a quick one as I didn't even hot glue any of the pieces in... I just made sure to stick the foliage sprigs in between the grapevine so they were secure.


Only bad part is that a while ago we were sitting in our living room watching TV and heard a ruckus toward the door.  The dog took off in a frenzy and I soon realized that the wreath is a great perch for the neighbourhood squirrels.  Uncool, especially when they leave their slice of 12 grain bread behind... gross!   


Can't wait to see what everyone else created...

Check out the Party

Monday, December 14, 2009

Deck The Halls!

Its beginning to look a lot like Christmas around these parts. Even though we've had our tree up for almost 2 weeks now its just been in the last few days that we've started to get the rest of the house spruced up.

Lucas and I are super excited for Christmas this year. This will be the first Christmas of our married lives (almost 7 years now) that we don't need to do the 12 hour trek to one of the parents houses to celebrate. This year we are spending some time with Lucas' parents - only an hour away - and then my parents are flying in Christmas night to stay with us until New Years. We are so psyched to not have to battle the icy roads this year!

So, the point of the story is that since we are spending the holidays at home, we are taking a bit more pride in our Christmas decorating this year. We've got the tree trimmed...


The ornaments out...

Along with a super old picture of us with Jolly St. Nick...


And in honor of being at home this year, I've taken on some new projects... lets call them DIY...

Several weeks ago, I found this picture in BlogLand and I fell in love...


I especially like the ornament-clad garland and new that I had to make something like it mine. I looked into buying something similar but figured I could try to make it myself and save some money in the process... In total, my rendition of the ornament garland cost me about $10.


What do you think?

The other thing that I tried out this year is is the word-in-frames project that's also been floating around on The Nest and in BlogLand. While most people take this project on in a small-scale fashion (in 4x6 frames), I tried it out in a much larger-scale!


I started out with 3 Ikea, 16x20 frames and a roll of Christmas-y wrapping paper. I cut out rectangles of the wrapping paper that are slightly larger than the opening in the frame. On top of that I had my neighbour (who makes signs out of vinyl lettering) make me 3 letters - J-O-Y (I'm sure they could be cut out of scrapbooking paper for an equal stunning effect). I stuck those letters on the wrapping paper and then threw them in the frames - Voila - instant Joy!


So that's what our place is looking like for the Holidays... what are you doing to deck the halls this year?

See what some other bloggers are doing by visiting the NewlyWoodwards
Dare to DIY
 
Blog Design by Sweet Simplicity