Showing posts with label DIY. Show all posts

Tuesday, December 06, 2011

-- My Makeshift Mantle: 2011 --

Ugh - it gets dark here so early these days!  It makes it virtually impossible to get a good photo.

Today Michelle at Ten June is hosting Mantle Day for the Bringing Christmas Cheer to the Blogosphere Party.  Unfortunately, we aren't fortunate enough to have a fireplace in our home (its definitely on our must-have list for our next home though) but we like to improvise around here.  We choose to deck out the top of our piano during the holidays instead.

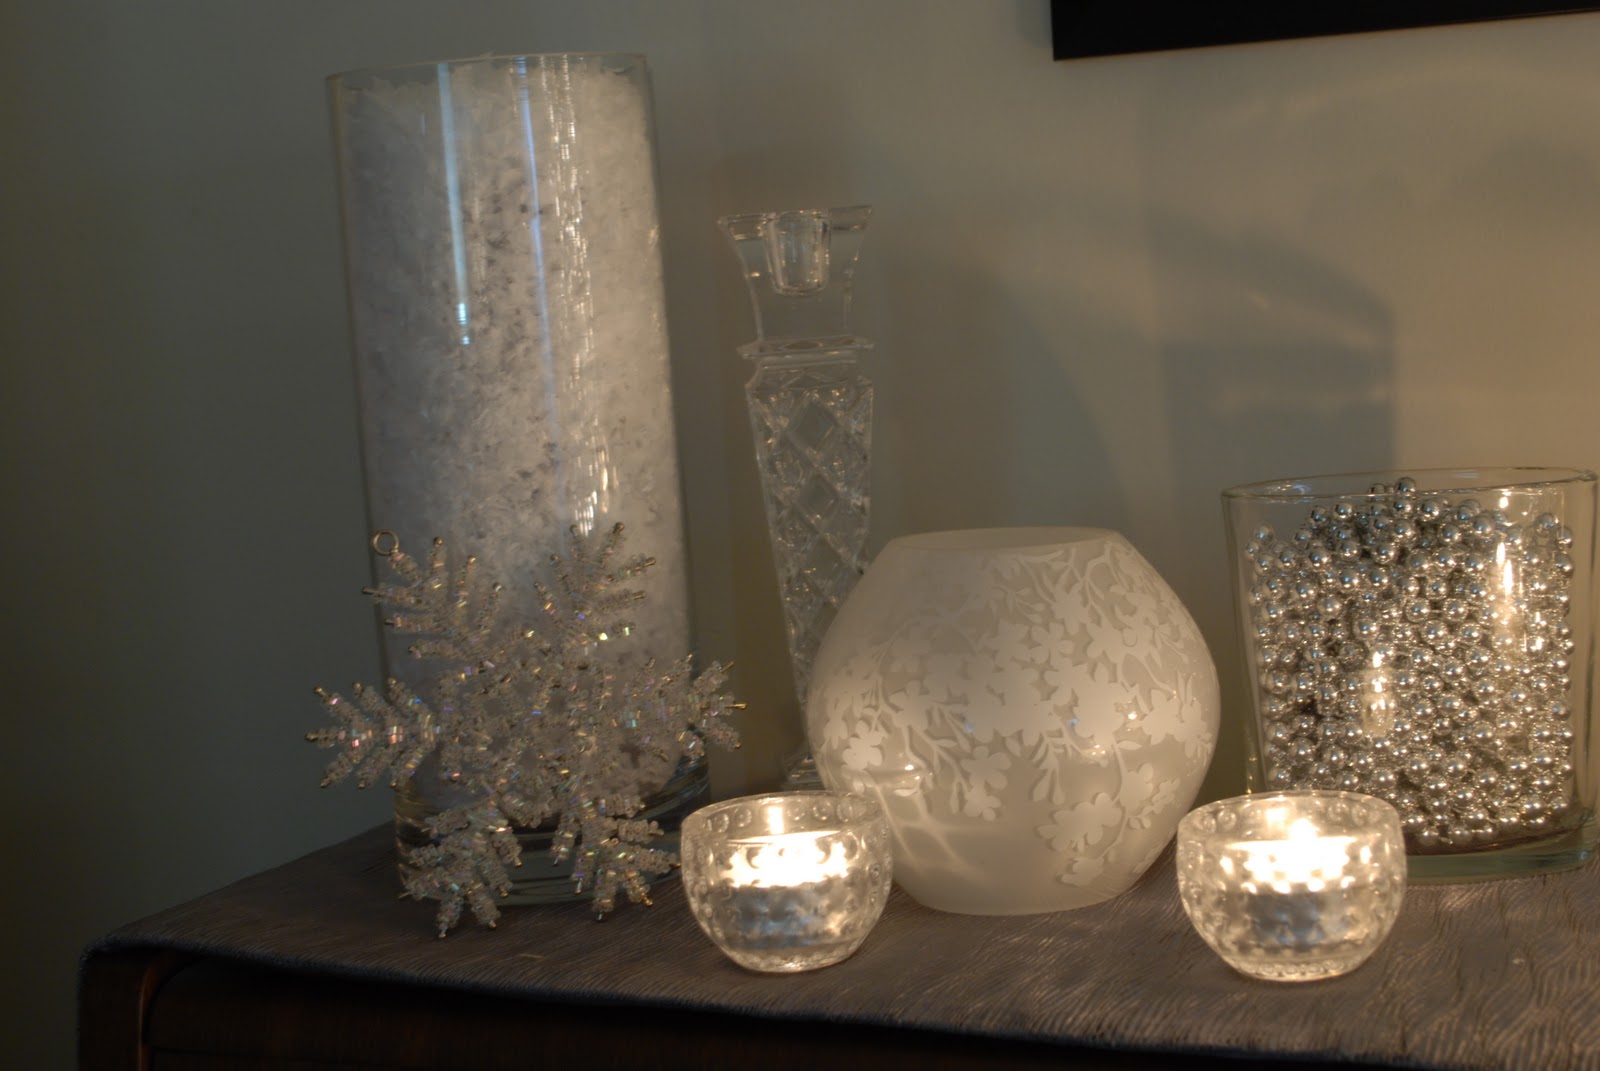
I decided on a silver and white theme for this year and its making me so happy to see it sparkling!


I ended up moving our acrylic JOY letters onto the 'mantle' once I realized that they would fit right in.  For some height on one side I stuck 4 ornament sprays (supposed to be stuck into a bare spot in a Christmas tree) into a basic white water pitcher that matches our china.  I added a couple silver and crystal candlesticks and fancy snowflake ornaments beside to keep it company :)


The other side also has some height going on in the form of a plain clear glass vase that I filled with faux snow.  A little trick that I used was putting another small cylinder container inside the vase that displaces some of the snow so I didn't need to use quite as much.  Also, the smaller globe object is actually a lamp but I needed to turn it off for the picture because it was throwing off the exposure.

The middle of the 'mantle' feature a sparkly wire tree that I got at a local home accessories store.


I think one of my favorite things about this 'mantle' are all the crystal candle holders and tealights.  As soon as we get home for the evening Lucas lights them all and it really makes the living room feel quite cozy!


Make sure to visit Ten June to check out everyone else's mantle!

Thursday, December 01, 2011

-- Christmas Vignette --

In celebration of Holiday Vignette Day, which Courtney is hosting at A Thoughtful Place, I wanted to share my the way I've styled my hall table for Christmas.

Holiday

Around our house we typically stick with a red, white and silver colour scheme but when I found these shiny green candle holders on sale last year I knew I had to have them.  In order to avoid the red and green thing though I'm trying to keep the green fairly removed from anything red.


Of course, this is still a hall table so I needed to include a little dish for random small items that need a place to live until I get a chance to put them away.


Trying to keep the heights varied, I also brought in a green glass luminary that I got a Crate and Barrel earlier this year and some acrylic letters that spell "JOY" my favourite Christmas word (it shows up all over the house).


Hey, neat, I can see my reflection in some of the globes :)

We also got a chance to put up our garland on the banister.  I've posted about this before but its basically a wire garland with lights, glitter-y cording, and silver and red globes mixed in.


In other SUPER EXCITING NEWS - my amazingly talented husband was featured in a Holiday Gift Guide by the folks at Custom Made.  So he's created 10 limited edition end grain cutting boards to be featured.  We are so excited for this great exposure and I'm especially proud!!


If you happen to be in the market for a handmade Christmas gift for a friend or loved one, we would love for you to check out the gift guide and get in touch.  We also just finished up some edge grain cutting boards that we are selling for almost 50% off the regular price for the holidays.  All are priced between $20 and $40 and are a cinch to ship within North America!  If you are interested, send me a message or leave a comment and I'll be in touch!

Tuesday, November 29, 2011

-- 2011 Advent Calendar --

Over the weekend I made another project that I had pinned to Pinterest.  This one was specifically for my husband Lucas.  He's a fairly awesome guy to have around and he goes crah - ray - zee over Christmas so I wanted to do something that would make the season seem really great.

- Lucas if you are reading... avert your eyes :) -

The idea came from here and the premise is simple - its an advent calendar so they open an envelope each day that contains either a compliment, a special treat or a plan for some time spent together.  I included about a third of each.

My first step was making 24 messages.  This was seriously the hardest part for me.  I consulted my calendar to make sure we weren't planning a date night on an evening where I knew I'd have to stay late at work etc...  I made mine using simple text boxes in MS Word and printed them out on regular printer paper.


My messages ranged any where from cheesy compliments, to free back massages, to a night planned walking around a local park to check out the Christmas lights.

I also printed out some numbers in a neat font (here's a link to the numbers that I used) and glued them onto some Christmas-y printed scrapbooking paper.


Then I inserted the messages in a larger rectangle of a coordinating scrapbooking paper which I folded into a mini envelope.


After sticking my date/number label on top of the envelope opening I had my little advent packages...

What?  You use your treadmill for running?  Whatever...
I chose to hang each of the envelopes on our tree with a little ornament hanger.


And then....

This happened 2 hours later while Lucas was watering the tree.

Such disappointment.


We had a few casualties in the form of broken ornaments and soaked advent packages.  But I just finished redecorating the tree.  Lets just say that decorating it the second time was not quite as satisfying as the first time.  I'll share the finished product later this week.

Visit here for other Christmas craft projects:
Holiday

Wednesday, July 13, 2011

-- I Made This --

A couple weeks ago I came across a really neat idea and it led me to Pin.Sew.Press and a project tutorial that she had posted.  Around this time, my mother-in-law was celebrating a birthday and I was wracking my brain trying to think of something to buy/make/give her.  Perfect timing!  

Because I was short on time (only had one evening), I stopped at Walmart and was able to pick up everything I needed.  I bought two kitchen towels, a stack of coordinating fabric, some thread and a spool of ribbon.  After an hour of cutting, pressing and pinning, here's one of the finished products.


 There are two strips of fabric sewn on the front side of the towel, just far enough apart that it makes it possible to wrap the towel over the oven handle.  I strung some ribbon through each strip of fabric and tied the ends so that the towel stays securely on the bar.


Now I won't find myself searching for a towel that my husband has "relocated" :)

 
Blog Design by Sweet Simplicity